Pages

Thursday, April 26, 2012

Mini Pies

A couple weeks ago I had the pleasure of 
getting together with a fellow blogger, and great friend to make mini pies. 
You can visit her blog over at Baking Yummies.

So the key to a good pie, is a good crust!
And that's exactly what she taught me how to make
First, correct measurements with baking is key!
Normally, I run when math is involved, 
but when it comes to food, i can adapt


TIP #1 
don't scoop your measuring cup into the flour
it causes it to become packed and heavy
instead gently push your flour into your measuring cup
and then lightly slide your finger over the top to even it out
seriously, big difference in the weight
and you want a light cup of flour
not a heavy one


TIP #2
In fact if there's only one thing you remember
make sure it's this!
USE COLD BUTTER
KEEP IT COLD
NEVER LET IT GET WARM
DON'T EVEN TOUCH IT
In fact, after each time you work with it
put it back in the fridge to get cold again
I think we re-refrigerated our butter and dough about 10 times
before it went into the oven
cold butter makes your crust flaky!

And lets just face it, Friends don't let Friends eat soft, limpy crust


TIP #3
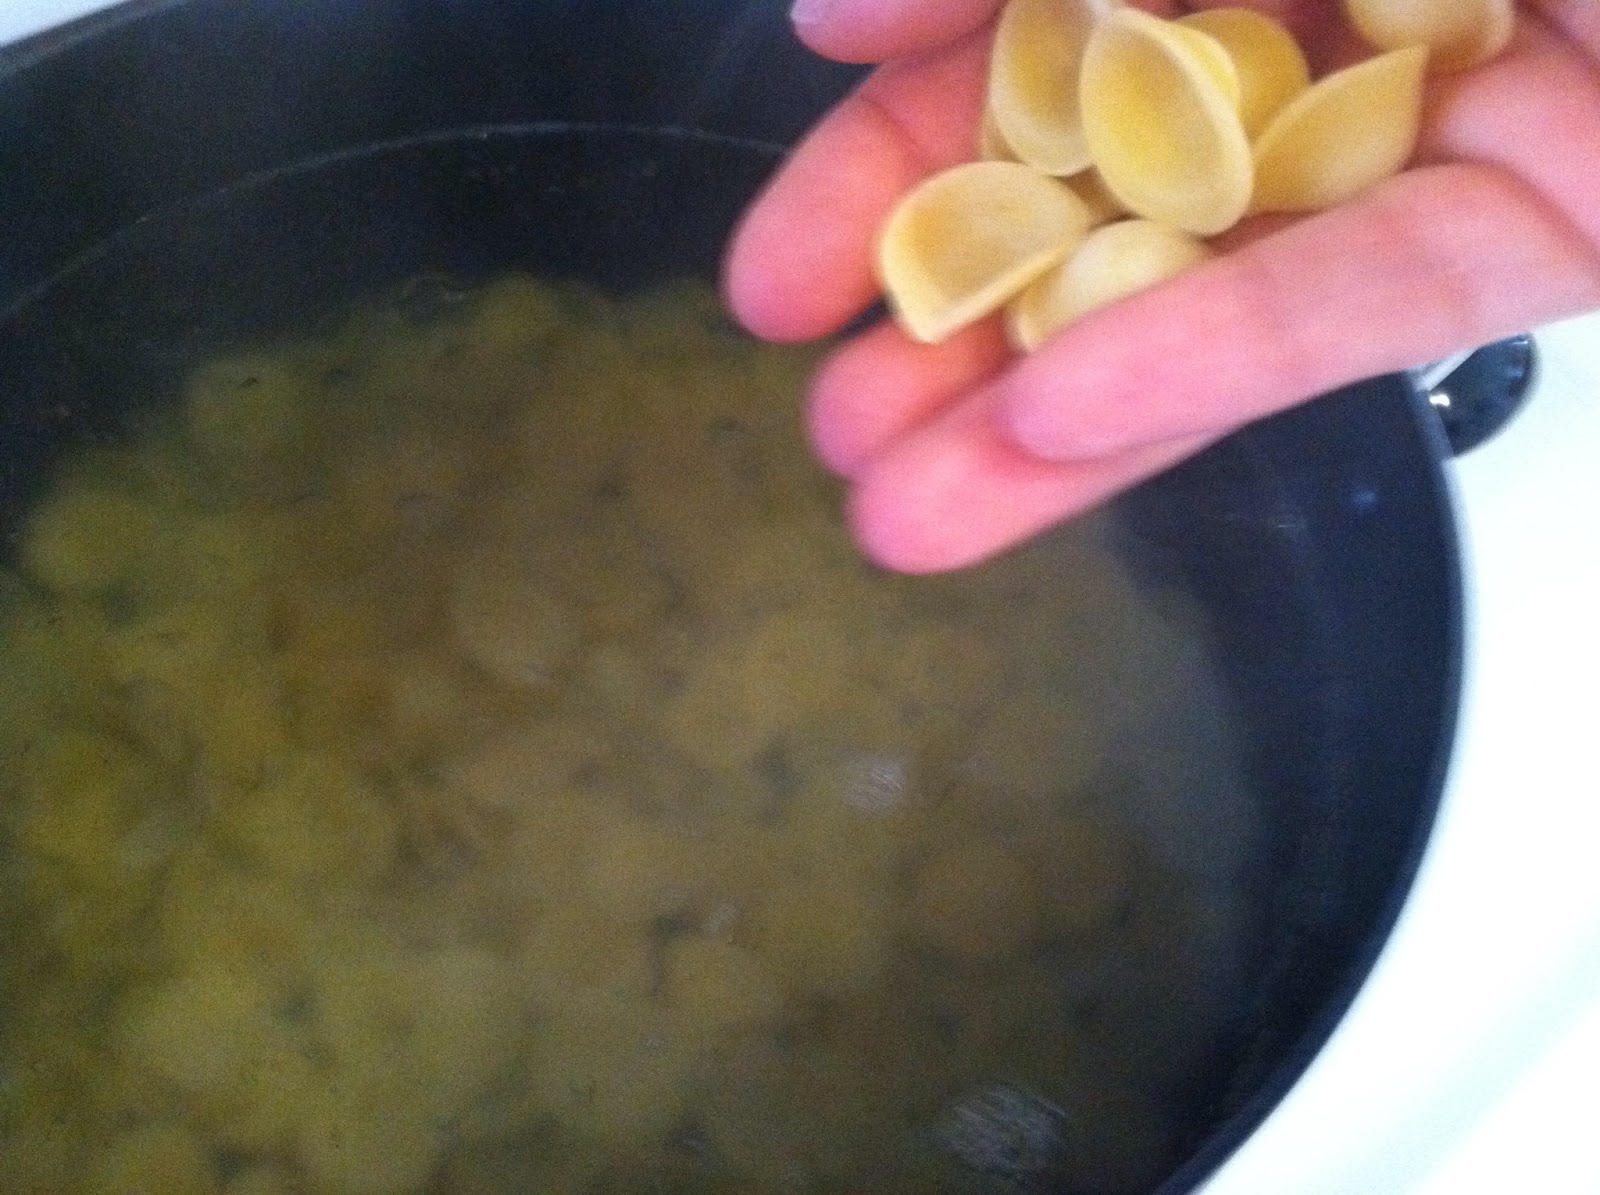
cook your fruit filling
it draws out more of the juices
maybe this is a given for some people
but it wasn't for me
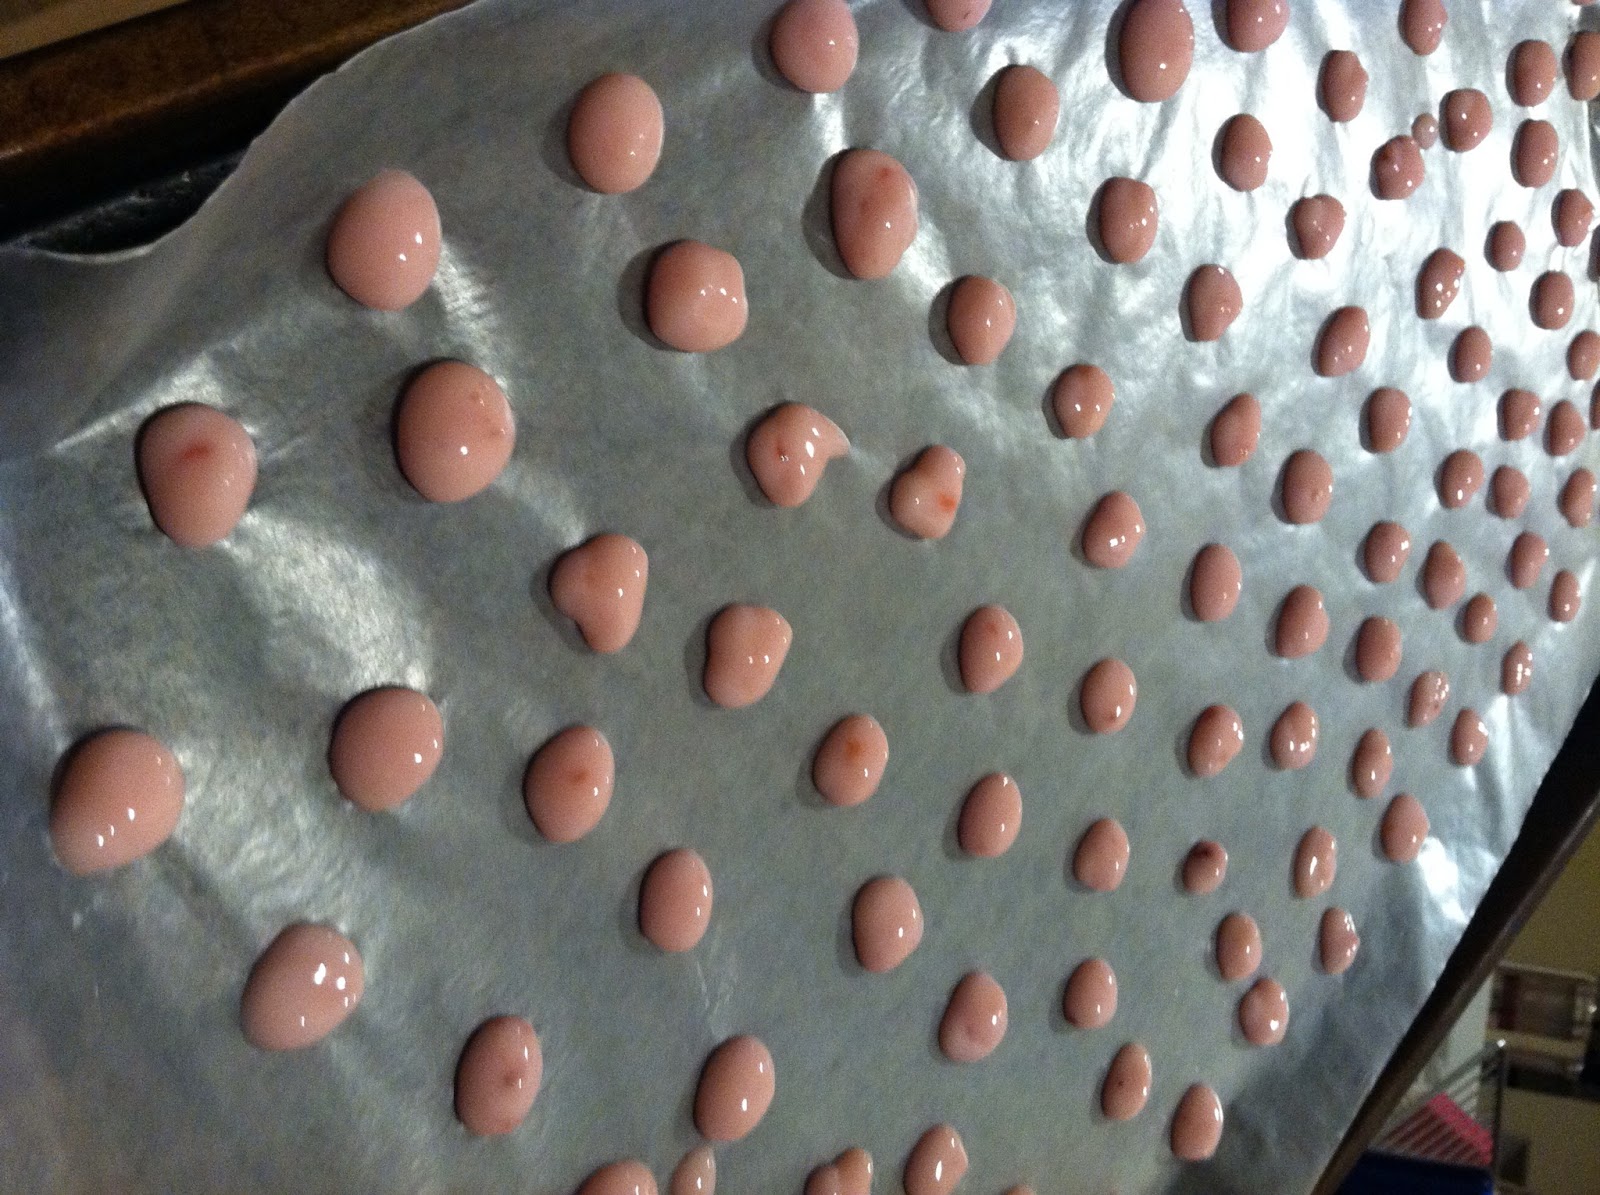
we chose blueberries for our filling
* Remember it must be cool before putting into your pie crust. 
We used a freezer to help speed up the cooling process


TIP #4
bake with a sleeping toddler
I don't even think I need to elaborate on that one


TIP #4
Use plastic wrap and parchment paper to roll out your dough
it doesn't stick to your dough and helps reduce the amount of extra flour that goes into your dough

TIP #5
Refrigerate your dough in between each roll out

TIP #6
make sure you only roll out our dough a minimal number of times
each roll out lessens the chance for flaky crust


TIP #7
Forking the edges is not just for decoration
it guarantees the filling is sealed into the mini pie


TIP #8 
after you egg wash and cinnamon sugar the tops and edges
poke a little letter to tell what kind of pie it is

TIP #9
don't feel like you have to bake them all at once
freeze them right after egg-washing!
first freeze them overnight straight on an uncovered baking sheet
and then transfer to zip-locs the next day
This way you can just pull one out of the freezer and bake as an individual serving


TIP #9
remember to poke some extra holes with a fork
on top before you bake or else filling will break through the fork seal

TIP #10
baking on the bottom rack of your oven heats the bottom of your pies, 
top rack heats the top of your pie
so rotate 20 minutes on bottom, and then 10 minutes on top 
so both parts of your pie are browned


And yes, they taste as good as they look
DELICIOUS!


Thanks, Christine
You're a great teacher and I'll be coming over again soon!


Friday, April 20, 2012

catch up

the last couple weeks I've been playing catch up
catch up on laundry 
catch up house cleaning
catch up on email
catch up on homeschool
and now catch up on blogging


its been a while since I've shared the happenings of the chaos household. 
I'm pretty sure this picture is where I left off last time
and its one of my favorite moments
It was taken on March 19th,
and today is April 20th
one month

so here's the in between

that same week we spent our nights with Mickey


and our days with Cinderella
she's a bit of a diva


Haley enjoyed Goofy's playground and the petting zoo

but spending time with these wonderful people
will be what I remember most


and then we began the long trip back home


but made one last stop at Grandma's house
we love stopping at grandma's
Jason gets to pretend he's 13 again
the girls gets to play outside
and me, i get to find fun things in the garden


we made it home
and immediately, someone came down with the flu

someone else had a birthday
ME
still NOT 30
coffee was the theme
and i was totally pampered
seriously, friends took me out for every single meal


Aidan and I made cupcakes
which I didn't eat
I ate jello
Thank you, Lent


day trip to the city
Haley's first time to Pier 39
she's almost two
we live twenty minutes away
parking cost us $24
see you again on Haley's 4th birthday!


got to visit our friend's new baby
which, of course, favors him


Lent ended
COME TO MAMA


EASTER!!
He is Risen!
and these two pictures are the only ones I got


No more Lent
means baking session with Christine!
mini pies
more on this in a future post


Last Saturday was a three-B marathon
Bible Study
Baby Shower
Birthday Party

i tried sewing an A on a onesie
as you can see it turned out well
bought a cute iron-on applique three days later
don't worry Abi, your birdie onesie will be delivered this evening

And its most definitely spring outside
which means all things spring
hikes
rainboots
parks
and water play

alright, I think we're all caught up
next post about the mini pies!


Thursday, April 5, 2012

PinterTest Kitchen: sweet craving solutions and vegetable adventures

So this last month there has been zero baking going on around here
well, maybe a little
but i took no part in eating it

it was my first time participating in Lent
and I chose desserts and pastries
no candy, no doughnuts, no cupcakes, no chocolate, NO NUTELLA!

I did leave myself the pleasure of Jello for my birthday
that's right, I'm not joking
my birthday cake was JELLO

it was pretty tough, more about that later

anyway, in a attempt to satisfy my sweet cravings
I decided to pin and test these

don't get me wrong they're no cupcakes and ice cream
but they were pretty delightful


check out the recipe at sugarfreemom.com

All natural


you can add your favorite toppings
chocolate chips on one, dried apples on another, 
fresh peach, fresh strawberry, craisins, nuts, the possibilities are ENDLESS!


this recipe makes a lot, but not to worry
refrigerate some in an airtight container
and throw the rest in a ziploc for the freezer
then thaw, and reheat in the microwave for 30-40 sec.


I may have been a little eager, and eaten right through the paper

don't judge me
I haven't had cake in a month


Try this one!
Seriously!
NOW!

Your supplies....


pour your yogurt of choice in the ziploc
cut a little hole at the tip of ziploc, and use like a pastry bag

then line a cookie tray with parchment paper and dot

dot your little heart out


then freeze
i don't even think it took 20 minutes for them to harden

once they're done
DEVOUR THEM


no joke, they're gone in seconds
mom's love them, kids love them, even the yogurt hating ones

no one can resist the frozen dots!

-------

now just because I wasn't eating sweets
doesn't mean I was eating healthy 
I wasn't, and I think my eating habits worried by husband a little
because after vacation he willing did the shopping, and brought back a ton of vegetables
including a big bag of broccoli from Costco

luckily I had just been inspired by my mother-in-law to make some broccoli salads
and so I got on pinterest to see what I could come up with

I found this recipe for Mediterranean Crunch Salad and used it as a base for my own version


broccoli florets,
thinly sliced kale,
halved grape tomatoes,
1/4 chopped red onion, 
1/4 of a cucumber halved and sliced, 
halved kalamata olives,
feta cheese,
 some cooked pasta, 
mixed with some kraft greek vinagrette
and chill in the fridge 


its fantastic
And if you want to give it more of an italian flare,
substitute black olives for kalamata, 
mozzarella balls for feta, 
and italian dressing for greek. 
And there you go!

Best thing about this salad, it keeps VERY well overnight. 
Maybe even better than the day you make it.

But since my kids won't go for the salad, no matter how good it is
I like to give them carrots with ranch dip. 
Now I saw a pin that said you can make your dip a little healthy
by using "plain greek yogurt mixed with a ranch dip season mix
and it tastes EXACTLY THE SAME"


and all I have to say about that is

LIAR


linking up with Jessica